Creating a montage

 1.
Open your first photo for the montage. This will serve as your
background photo; other photos will blend into this. Ideally the photo
should have space around the center of interest to make the blend work.
Use Image Size to make the photos the size and resolution you need.
1.
Open your first photo for the montage. This will serve as your
background photo; other photos will blend into this. Ideally the photo
should have space around the center of interest to make the blend work.
Use Image Size to make the photos the size and resolution you need. 2. Open your second montage photo. Crop as necessary, and size so that it fits into the background photo as you need.
3. Using the marquee tool, drag around the second photo. Copy. (Alternatively, you can drag and drop the second photo into the first. Paste copied photo into background photo.
4. The second photo will be placed on top of the first on its own layer. Choose the move tool to move it as you want. Use the transform option (Edit pulldown) and Scale to fit the image to area desired in the original photo. Choose Return to accept transform.
5. In the Layers panel, choose the Add Layer Mask icon at bottom (the little circle icon).

6. Choose the gradient tool from the Toolbox. (It might be behind the paint bucket tool).
7. In the foreground/background color icon, choose black to white (or white to black, if you want to fade to black).
 8. Drag
horizontally on the second photo to smoothly blend the second photo
with the first. You may have to experiment with this a bit to get it
just right. Use the Command-z keystroke combination to go back.
8. Drag
horizontally on the second photo to smoothly blend the second photo
with the first. You may have to experiment with this a bit to get it
just right. Use the Command-z keystroke combination to go back. 9.
When you're ready open the third picture. Same procedure: size, crop,
copy, paste into your montage. Move, Layer Mask, gradient.
9.
When you're ready open the third picture. Same procedure: size, crop,
copy, paste into your montage. Move, Layer Mask, gradient.10. Add a fourth picture, or more, if you wish.
11. You will have to adjust the sharp edges between photos. To do that, choose the brush tool. Choose a soft-edged brush, and set your foreground color to black.
 12. With the chosen layer mask active (click on it from the layers panel), paint over the image to blend. Adjust hardness and opacity of brush as necessary.
13. Add text, if you wish.
14. Save as tif or jpg for publication or the Web.
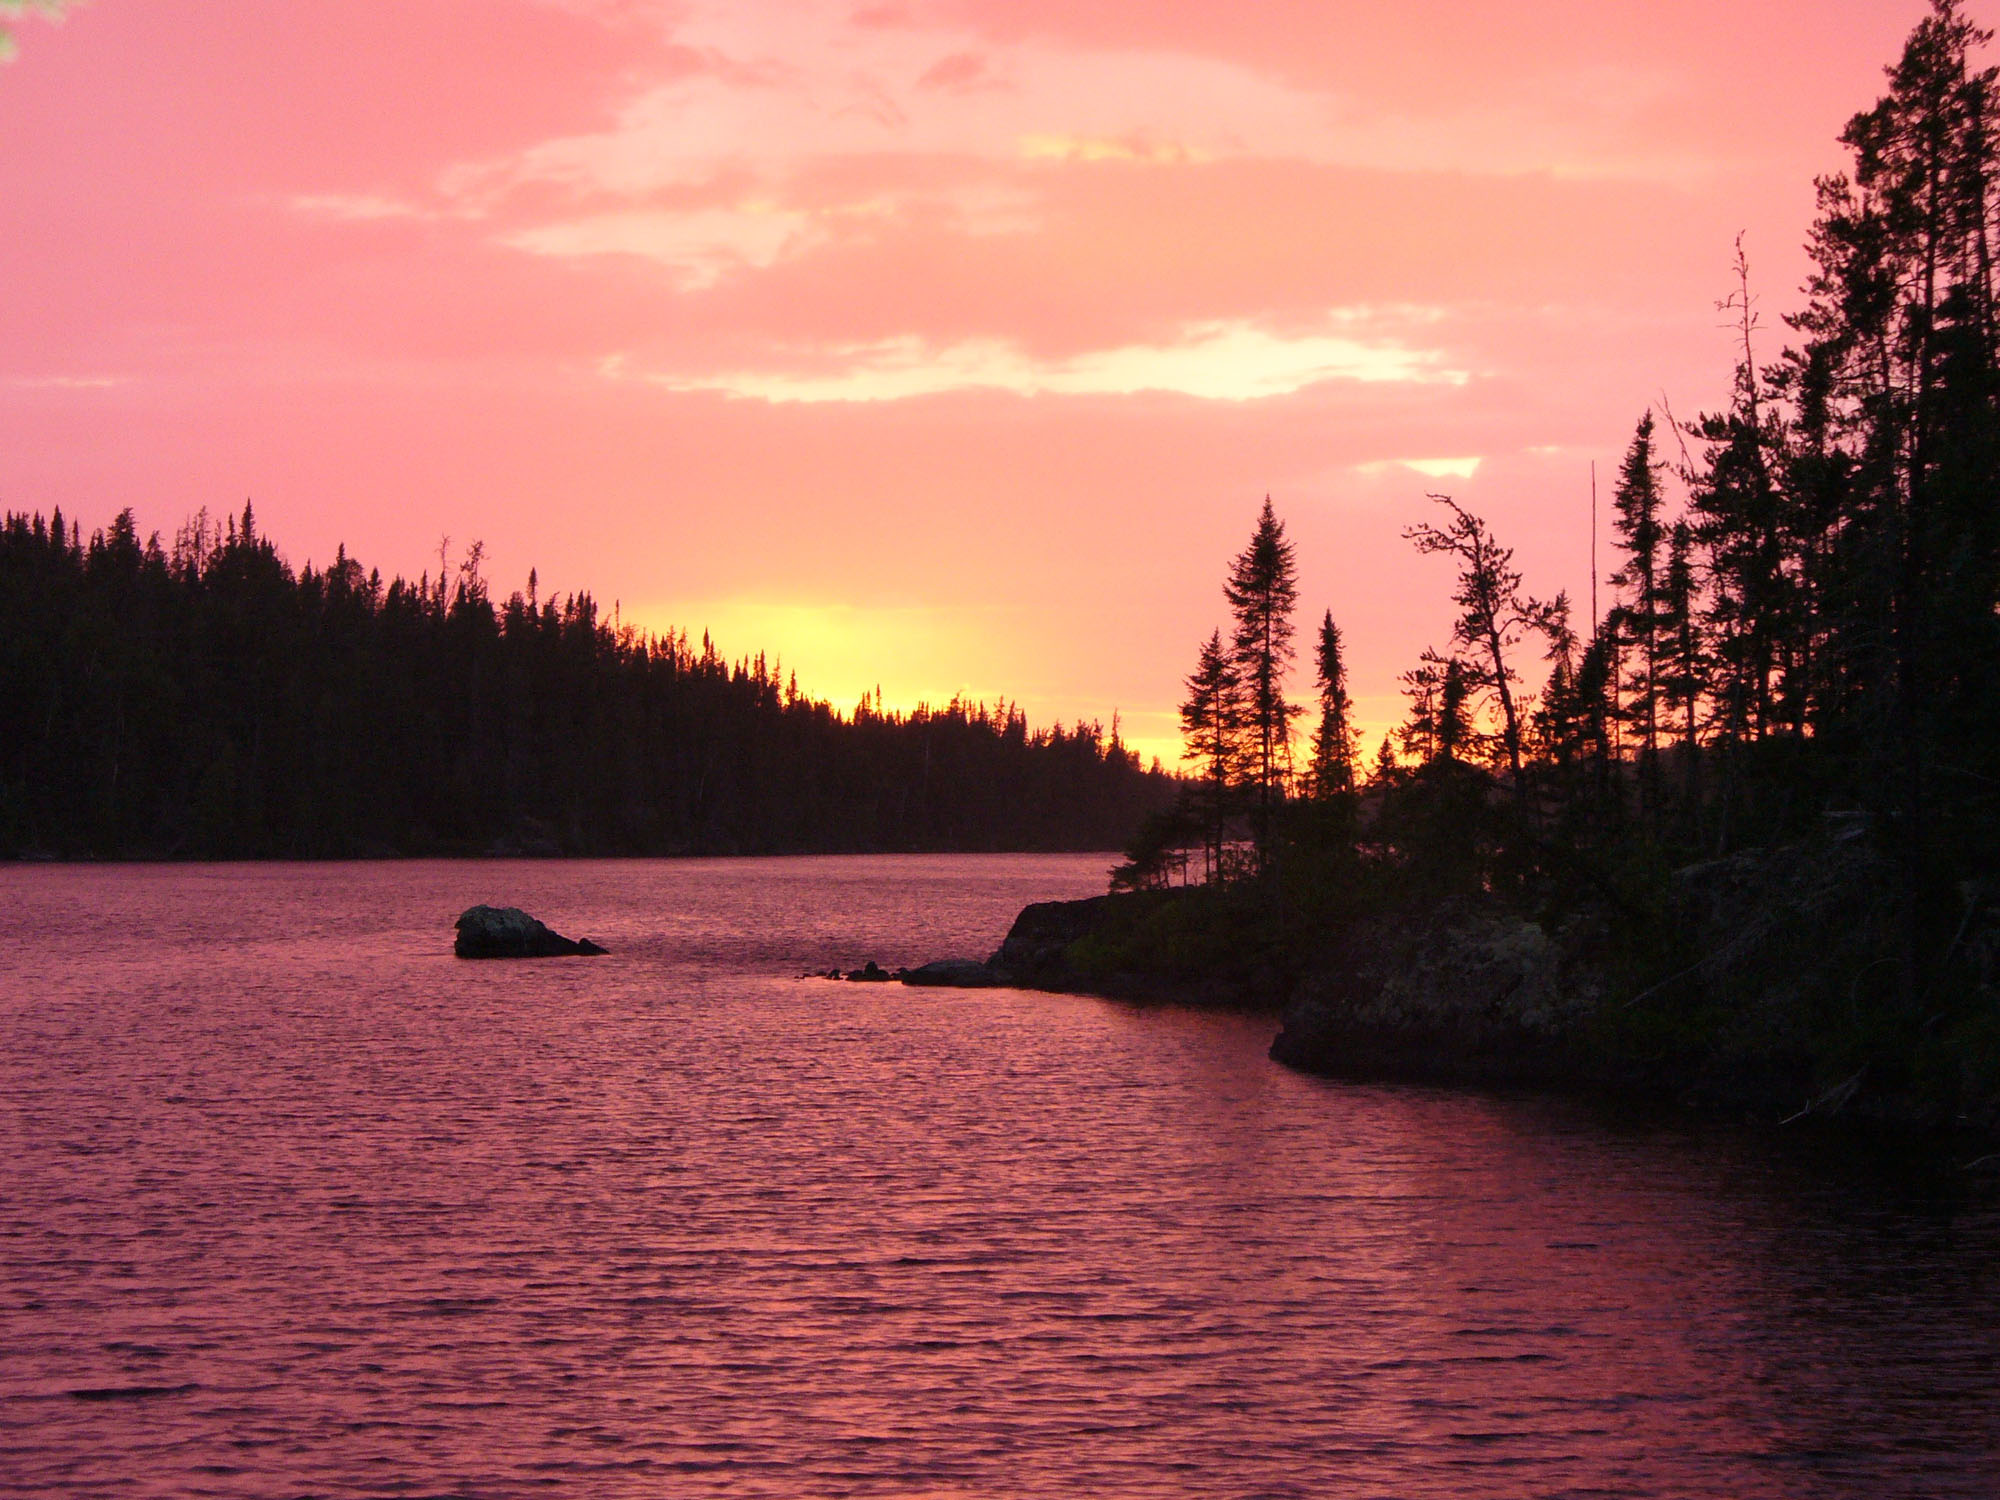
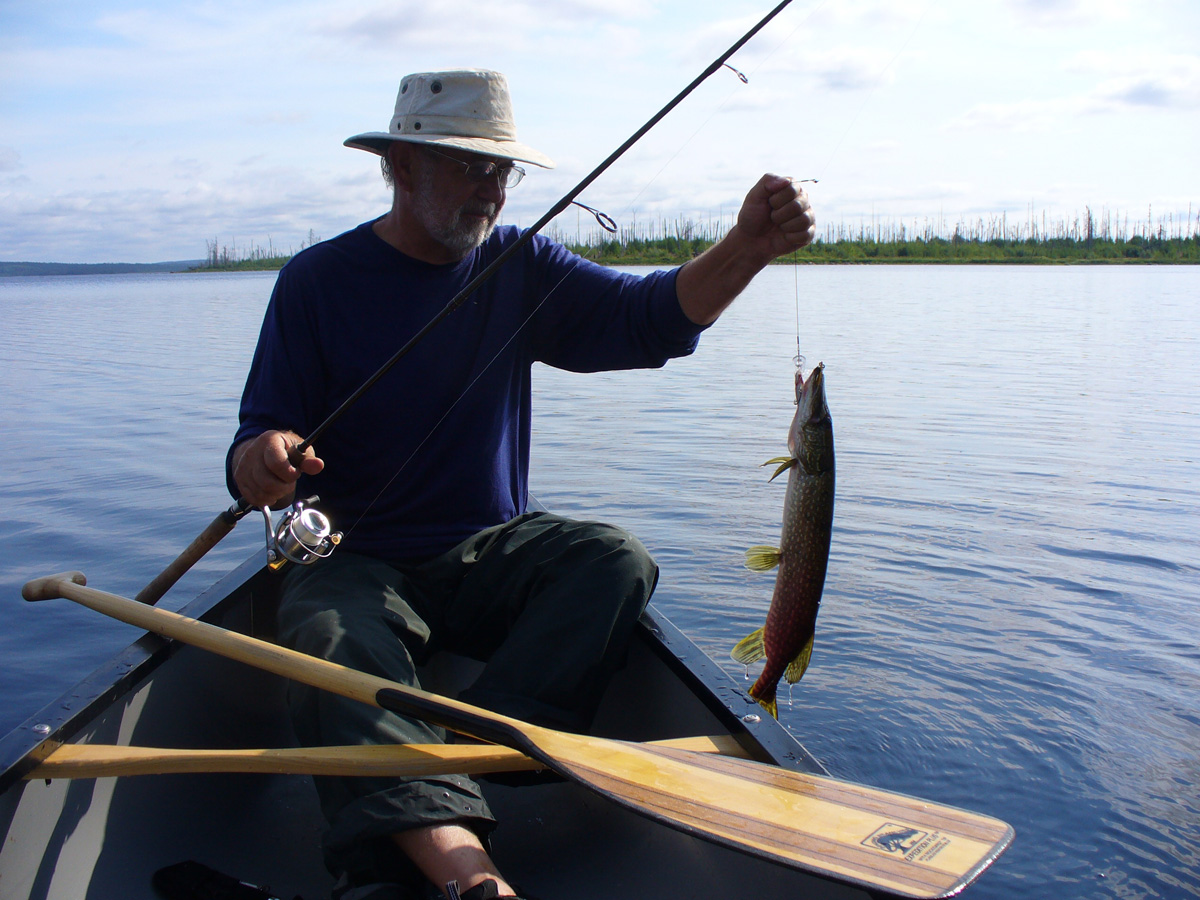
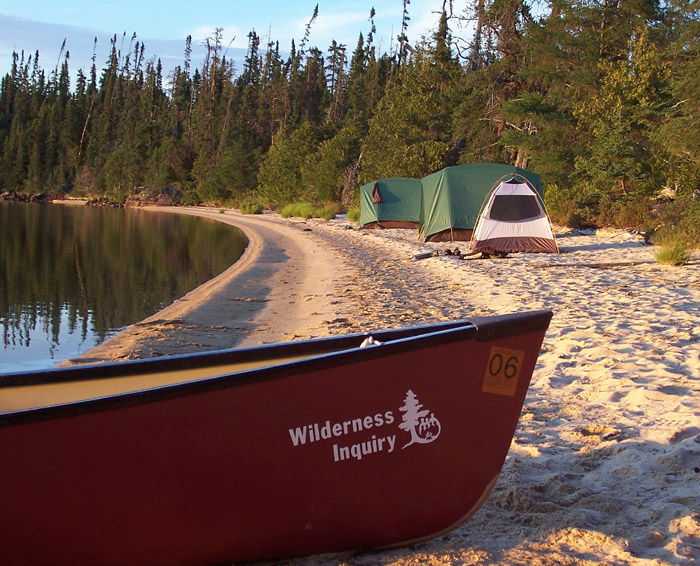
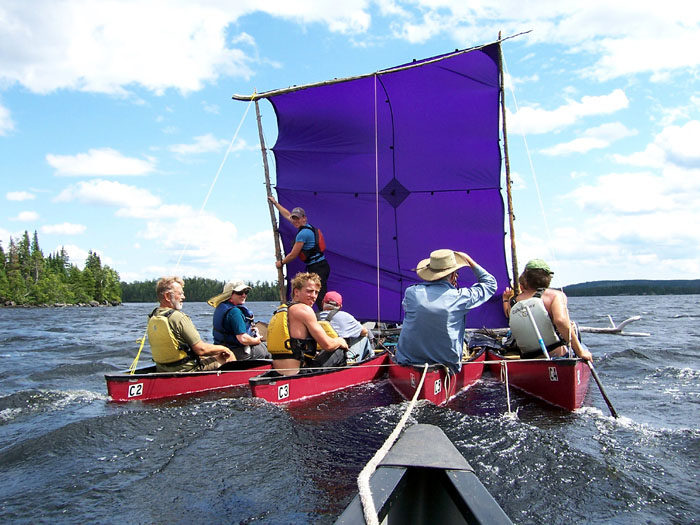
Below are some practice photos, and a sample montage I'm sure you can improve on.
Wabakimi, Ontario, sunset.
Fisherman.
Canoes.
Canoe sailing.
No comments:
Post a Comment